
Battery to Charge Controller Tray Cables for 3/8 in Lugs
DESCRIPTION 【Connect the Battery and Charge Controller】 Renogy offers a range of different lengths, as well as four gauge sizes to choose from. 3/8 inch round center hole. 【TUV LISTED】 The cable meets TUV standards fo...
Size it to your vessel first
Run your loads through the Energy Planner to confirm this gear covers your daily draw — and see if you need more panels or battery.
Open the Energy Planner →
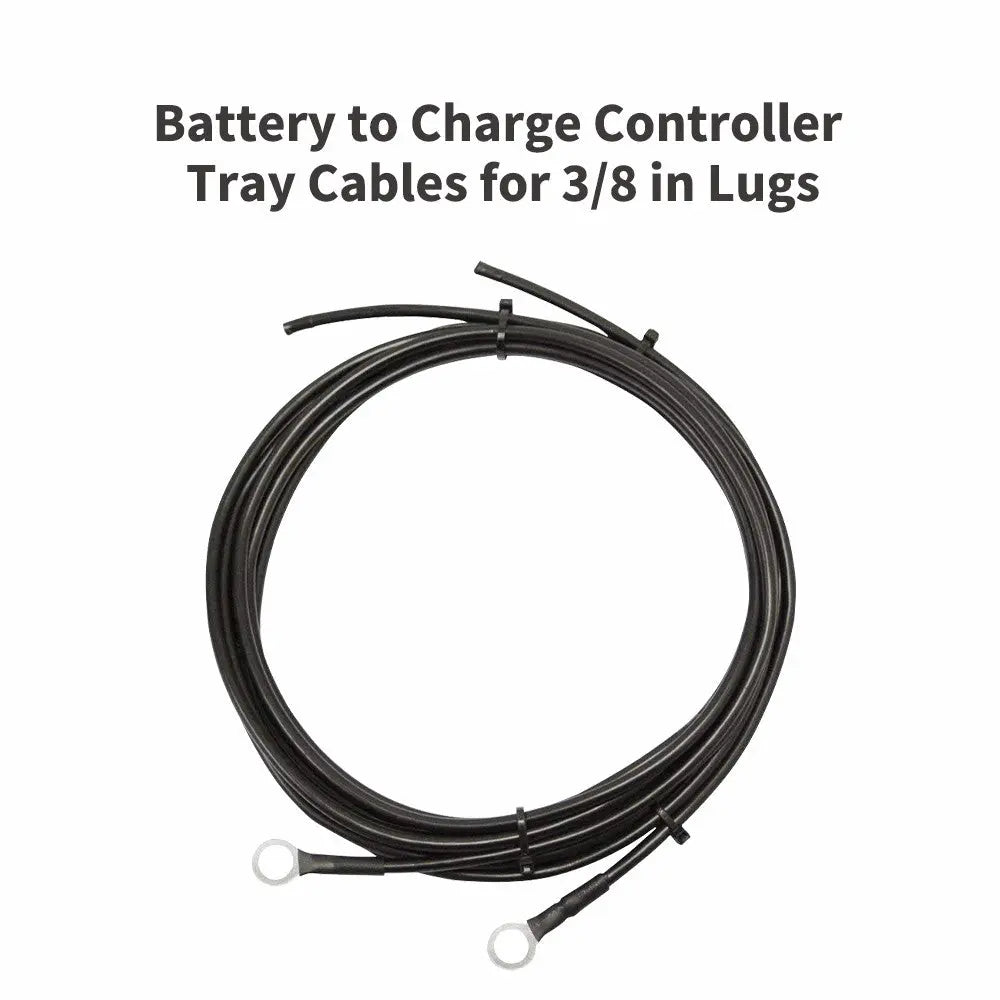
Connect your charge controller to the battery with a pair of Renogy high-quality copper tray cables. Specialized with battery rings on one end for effortless connection to your battery and exposed stranded wire on the other end to lead directly into your charge controller, this wire makes the system set up as easy as can be!
Step 1 Materials & Tools Ready1. Solar charge controller
1 AC Terminal Block
2. Battery
3. Battery cables (with terminal rings on one end and stripped at the other.
4. Fuse set with cable
5. Wire crimper and screwdriver
STEP 2 Connect the Cable with Charge ControllerInsert the stripped end and screw the terminal shut. All Renogy Charge Controller have the battery terminals labeled with a battery icon"BATT".
STEP 3 Connect the Fuse to the Positive Battery CableThe Renogy ANL fuse will protect the charge controller, wire, and battery from over-current. The fuse set and fuse cable are available from Renogy.
STEP 4 Connect the Battery Cables to the BatteryConnect the negative battery cable to the negative battery terminal and the positive cable to the positive terminal.
STEP5 Charge Controller Turn On NowCheck the installation instructions in your charge controller’s manual and set up the battery type correctly.
STEP 6 Double Check All Your ConnectionsDouble check all your connections to make sure that none are loose.
NOTE- If you have any questions regarding this product, please call us at 1 (909) 287-7111 or or contact us
Good to know
- Genuine Renogy product from an authorized dealer.
- Ships from US distribution.
- Questions about fit or installation? Contact us before you order.
What's in the box
No reviews yet
Be the first to review the Battery to Charge Controller Tray Cables for 3/.... Bought one? We'd love to hear how it's working aboard.
Share your experience